
Using Your POS System (Android)
Hi, there! Welcome to NCL Point-of-Sale. This guide will provide you with a step-by-step information to help you familiarize yourself with the system. As you may have known by now, there two versions of NCL Point-of-Sale available on the market - Web-based and Android-based.
Under this section we are going to focus on the Android version of the POS. You may download our apps from the Google Play here: NCL Point-of-Sale.
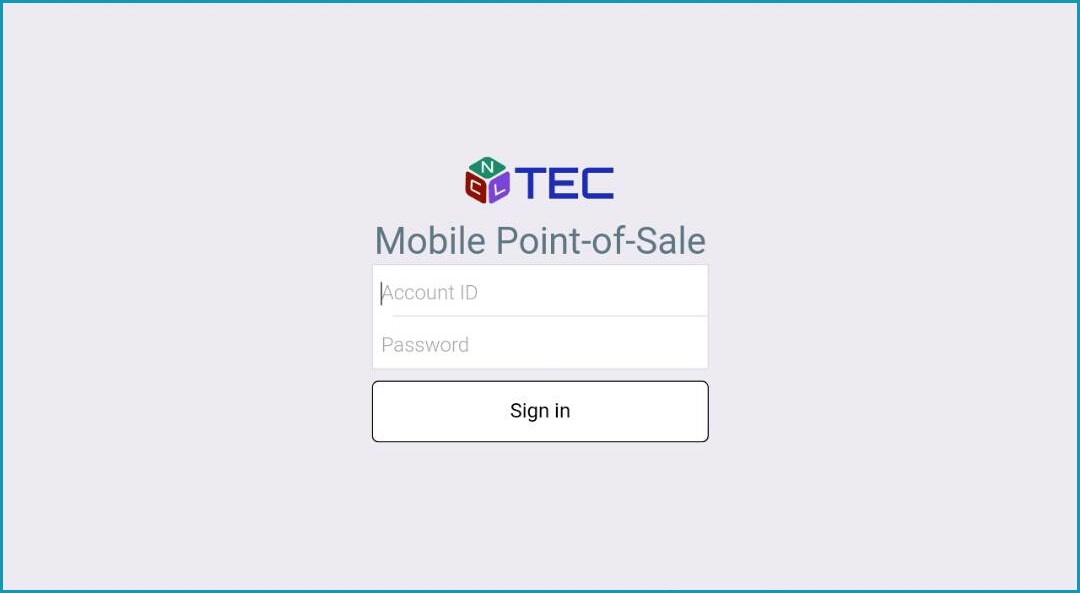
When you first started the application, you are required to enter your Account ID and Password.
In the case where you may have forgotten your password, don't be alarmed. You can always send us and email at support@ncltec.com and we will provide you with a new password in no time.
After you have successfully sign in, you will be directed to the Sales screen as shown below:
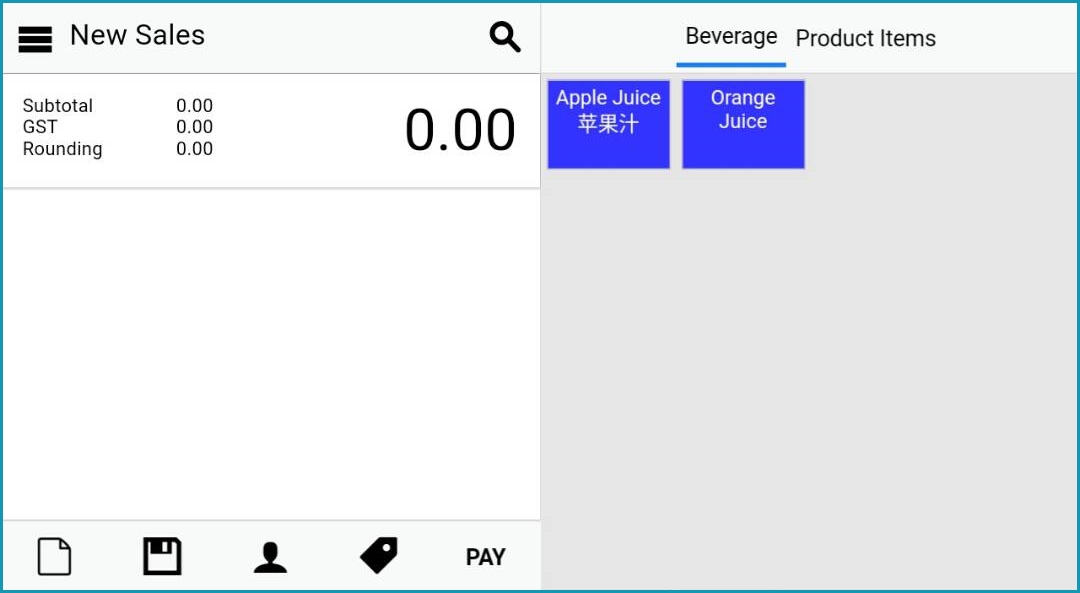
Here in the Sales screen is where all the magic happens. You can either hold bill, process payment, or add new customer easily at the touch of a button.
To learn more on the function of these buttons, you may refer to the below table:
| Features | Description |
|---|---|
| This button lets your create new record. Note that creating new record will erase all the sales in the current screen. | |
 |
To print hold your bill, you may click on this button. Please enter the ticket number that you can use to trace back the sales. |
 |
This button allows you to create new customers and include them in your sales transaction. |
| If you would like to add a discount for your item, click on this button and you will be prompted to enter the discount either in percentage or value. | |
| PAY | When your customer is all ready to check out and pay, you may proceed with the payment by clicking on this button. Here, you are able to select the payment mode that you have created earlier. |
| To access other menus, please click on this button. | |
| You may retrieve your hold bill by clicking on this button. You will be able to find your bill from the ticket number that you have entered earlier. |
To navigate between the menus in the NCL Point-of-Sale, you may click on the from the Sales screen.

Below is the brief summary for each menu:
| Menu | Description |
|---|---|
| Sales | This is where you may record your day-to-day sales transaction. |
| Summary | The terminal summary displays sales activity and payments for today's business transaction. |
| History | The history menu allows you to view and void confirmed receipt that has not yet been posted to the accounts. |
| Closing | Navigate to this menu when you are ready to settle up your operation and post the transaction to accounts at the end of each business day. |
| Settings | If you want to adjust the printers setting, change your password or switch to another terminal, you may do so here. |
This section will provide you with a brief introduction on the three types of printers in the NCL Point-of-Sale. This feature is specifically designed to cater to different needs of the businesses which include retail businesses, food and beverage, hospitality and many more.
To access the printer setting, please navigate to Settings > Printers.

Main Printer
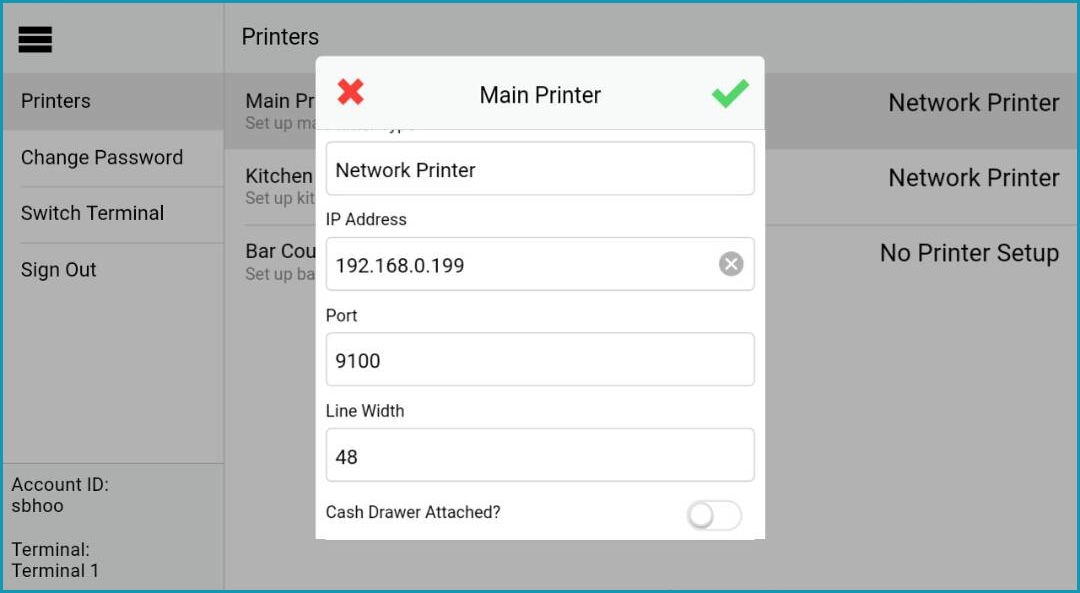
Main Printer is used primarily for receipt printing. You may select from the three available Printer Types:
- Network Printer
- Bluetooth Printer
- USB Printer
To attach your cash drawer to the printer, simply tap on the Cash Drawer Attached? option located at the bottom of the pop-up.
Kitchen Printer
You may have multiple printers in different location of your premise, especially if you are in the Food & Beverage businesses, to print your items order. This way, your staffs do not have to walk back and forth between the kitchen and the bar counter.

Similar to the Main Printer, you may choose from the three printer types for the kitchen printer.
Bar Counter Printer
You may set up the Bar Counter Printer if you have a bar station in your restaurants to handle orders from the customers.

Separating between the kitchen and the bar printer ensure all sections receives their orders while minimizing errors in delivering orders.